Orchard Vistas: Expert Photography Tips for Apple Picking Sessions
Transform your apple-picking adventure into a stunning visual story. This guide offers expert photography tips, from leveraging natural light to composing captivating shots, ensuring your orchard memories are beautifully preserved. Learn how to master your camera and capture the magic of the harvest

Apple picking season is more than just a delightful autumn tradition; it's a vibrant tapestry of colors, emotions, and natural beauty waiting to be captured. As a senior editor at Apple Picking Finder, I've seen countless photos from orchards across the country, and the ones that truly stand out tell a story, evoke feeling, and showcase the magic of the harvest. This guide is designed to help you elevate your orchard photography, turning casual snaps into cherished visual narratives.
Whether you're armed with a professional DSLR, a mirrorless camera, or just your smartphone, the principles of good photography remain the same. Understanding light, composition, and subject can transform your pictures from ordinary to extraordinary. Let's delve into the art of capturing the essence of the apple orchard, ensuring your memories are as crisp and sweet as the apples themselves.
Mastering Natural Light in the Orchard
Light is the painter's brush for a photographer, and the apple orchard offers a dynamic palette. Understanding how to use natural light is perhaps the most crucial skill you can develop for stunning outdoor photos.
Golden Hour Glory
The 'golden hour' occurs shortly after sunrise and just before sunset, casting a soft, warm, and diffused light that is incredibly flattering. This light minimizes harsh shadows and highlights the rich reds, yellows, and greens of the apples and foliage. Plan your orchard visit during these times if possible. The low angle of the sun during golden hour can also create beautiful backlighting, making subjects glow with an ethereal halo.
Midday Challenges and Solutions
Midday sun, especially on a cloudless day, can be harsh, creating strong contrasts and deep shadows. Instead of direct sunlight, seek out open shade, such as under a large tree or on the shady side of a row of apple trees. This provides a softer, more even light that's ideal for portraits and detailed shots. Alternatively, you can use the bright sunlight to your advantage for silhouetted shots or to emphasize textures.
Overcast Day Advantages
Don't dismiss an overcast day! Clouds act as a giant natural diffuser, scattering light evenly across the scene. This soft, diffused light is excellent for vibrant colors, smooth skin tones in portraits, and reducing harsh shadows. It's often easier to achieve consistent exposure and rich saturation on an overcast day than in direct sun.
Composition: Framing Your Orchard Story
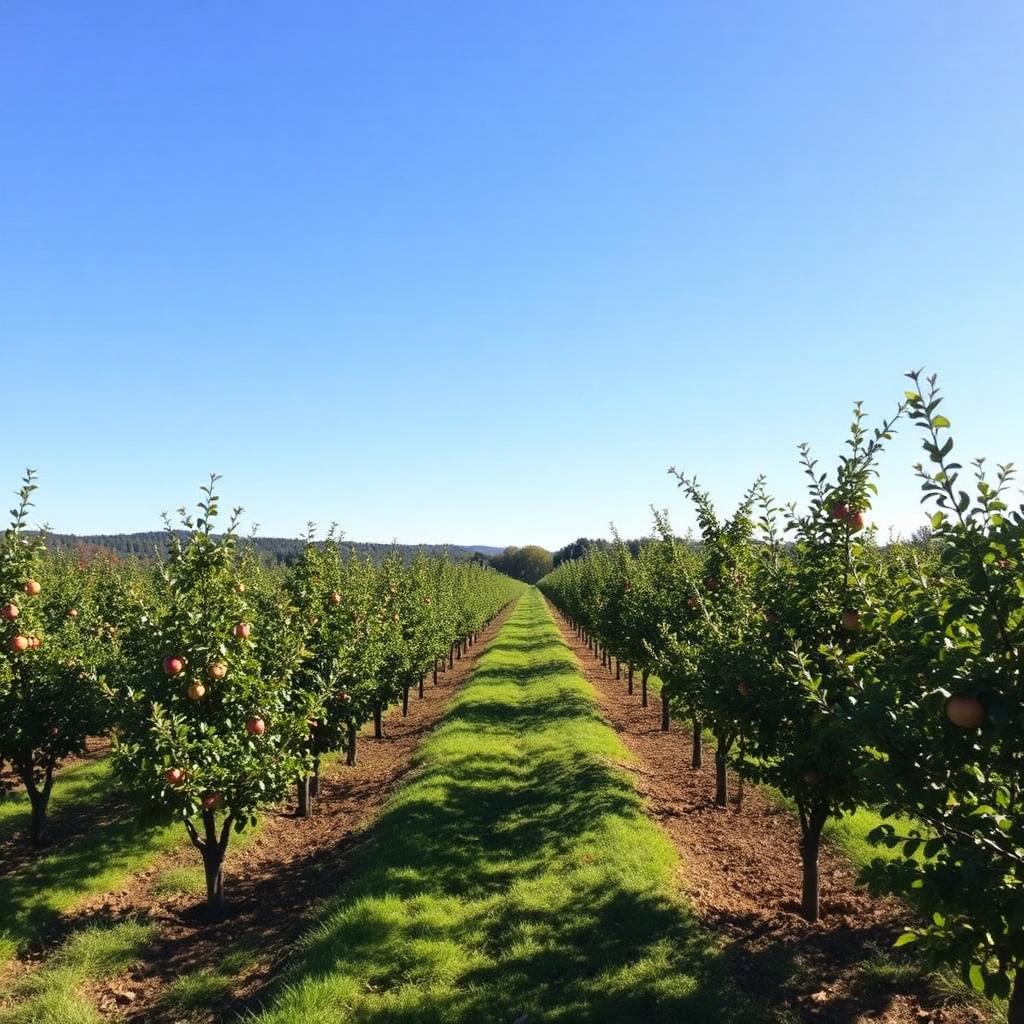
Composition refers to the arrangement of elements within your frame. Good composition guides the viewer's eye and creates a sense of balance and interest.
The Rule of Thirds
Imagine your image divided into nine equal parts by two equally spaced horizontal and two equally spaced vertical lines. Place your subject or points of interest along these lines or at their intersections. This often creates a more balanced and engaging photograph than simply centering everything.
Leading Lines and Curves
Utilize the natural patterns of the orchard. Rows of apple trees stretching into the distance act as leading lines, drawing the viewer's eye deeper into the photograph and creating a sense of depth. Pathways, fences, or even branches can serve this purpose.
Framing and Depth
Look for natural frames within the orchard, like branches, leaves, or even the space between two trees, to frame your subject. This technique adds depth and focuses attention. Also, incorporate foreground elements, like a bushel of apples or a child's hand reaching for a branch, to give your photos a multi-dimensional feel.
Varying Your Angles
Don't just shoot from eye level. Get down low to capture a child's perspective, or shoot from a slightly elevated position to show the expanse of the orchard. Experiment with close-ups of individual apples, apple blossoms (if shooting earlier in the season), or hands picking fruit. Macro shots can reveal incredible detail and texture.
Capturing Authentic Moments: People & Emotions
While the beauty of the apples is undeniable, the human element often transforms an orchard photo into a cherished memory. Focus on candid, authentic moments.
Candid Shots are Gold
Instead of always posing, try to capture people in the act of picking, laughing, talking, or exploring. These unscripted moments convey genuine joy and connection. Use a longer lens if you have one to shoot from a distance without being intrusive, allowing your subjects to forget the camera is there.
Focus on Interaction
Highlight the interactions between people: a parent helping a child pick an apple, friends sharing a laugh, a couple strolling hand-in-hand. These interactions tell a story and add emotional depth to your photographs.
Details and Expressions
Don't forget the small details. A child's dirt-smudged face, a hand grasping a ripe apple, the sheer delight of a first bite. These close-up shots of expressions and actions can be incredibly powerful.
Equipment and Settings: Making Your Camera Work for You
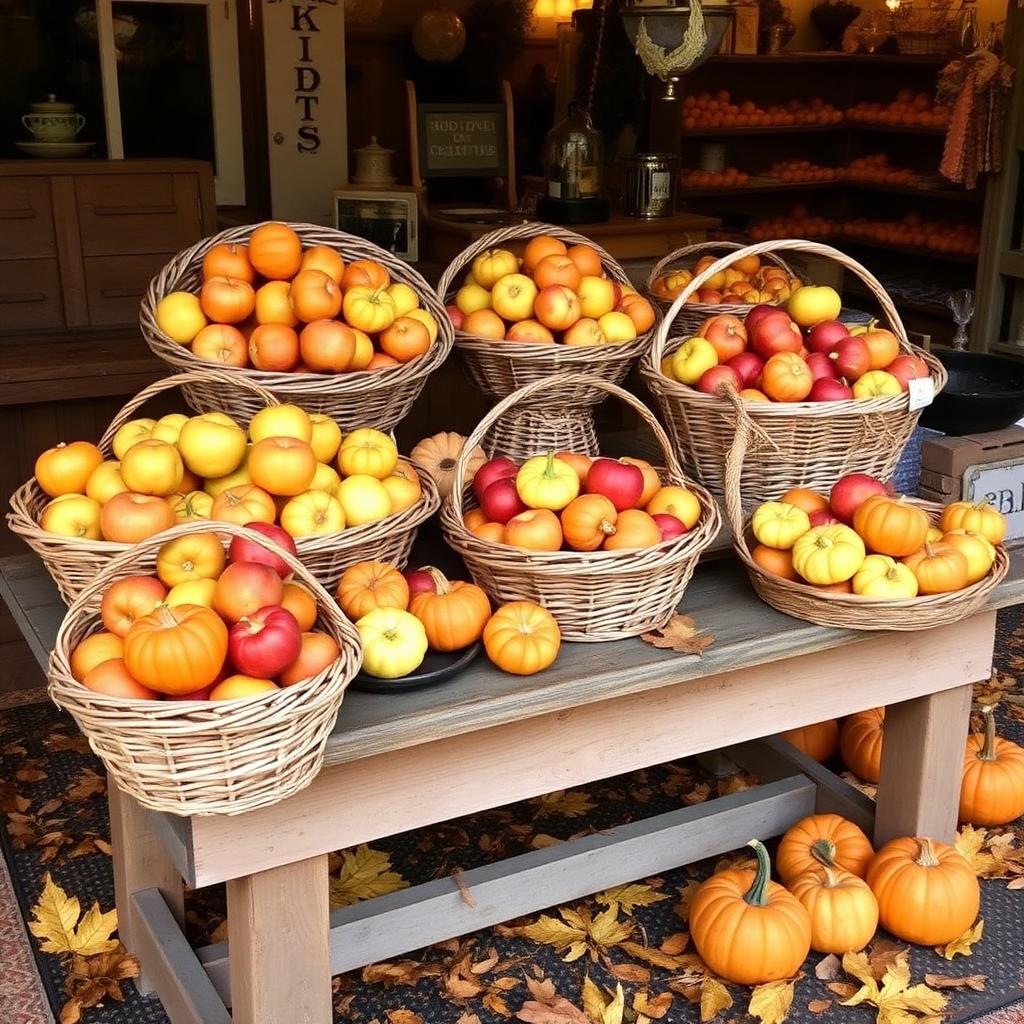
You don't need the fanciest camera, but knowing a few settings can make a big difference.
Smartphone Photography Tips
- Clean Your Lens: A smudged lens is the number one culprit for blurry or hazy phone photos.
- Tap to Focus & Adjust Exposure: Tap on your subject on screen to ensure focus, then slide your finger up or down to adjust brightness.
- Use Portrait Mode: Many smartphones have a 'Portrait Mode' that creates a beautiful blurred background (bokeh), making your subject stand out.
- Avoid Digital Zoom: It degrades image quality. 'Zoom with your feet' instead, by getting closer to your subject.
- Burst Mode for Action: For kids or pets, use burst mode to capture a series of shots and pick the best one later.
Dedicated Camera (DSLR/Mirrorless) Settings
Strong photography begins with a clean lens and an understanding of your camera's basic settings, regardless of your skill level.
- Aperture Priority (Av/A mode): This mode lets you control depth of field. Use a wider aperture (smaller f-number like f/2.8 or f/4) for blurry backgrounds in portraits, and a narrower aperture (larger f-number like f/8 or f/11) for landscapes where you want everything in focus.
- Shutter Speed: For freezing action (like a child running or an apple falling), use a faster shutter speed (e.g., 1/500s or faster). For static subjects in good light, 1/125s or 1/250s is often sufficient.
- ISO: Keep your ISO as low as possible (e.g., 100-400) for the best image quality and least noise, especially in bright daylight. Only increase it if light conditions demand a faster shutter speed or wider aperture that isn't available.
- White Balance: While often left on 'Auto,' understanding your white balance settings (Daylight, Cloudy, Shade) can help ensure colors are accurate.
Post-Processing: Enhancing Your Orchard Gems
Editing is where your photos truly come to life. Even subtle adjustments can make a big difference.
Essential Edits
Most photos benefit from basic adjustments: cropping for better composition, straightening a crooked horizon, adjusting exposure (brightness), contrast, highlights, and shadows. Even minor tweaks to saturation and vibrancy can make the reds of apples pop without looking artificial.
Color Grading and Mood
Consider the mood you want to convey. Warm tones can enhance the feeling of autumn, while slightly cooler tones might evoke a crisp morning. Many photo editing apps (Lightroom Mobile, Snapseed, VSCO, built-in phone editors) offer presets or filters that can give a consistent look to your entire orchard series.
Removing Distractions
Sometimes, a stray branch or an unwanted person in the background can detract from your main subject. Use healing or cloning tools to subtly remove these distractions, cleaning up your frame for a more polished look.
Storytelling Through Your Photos
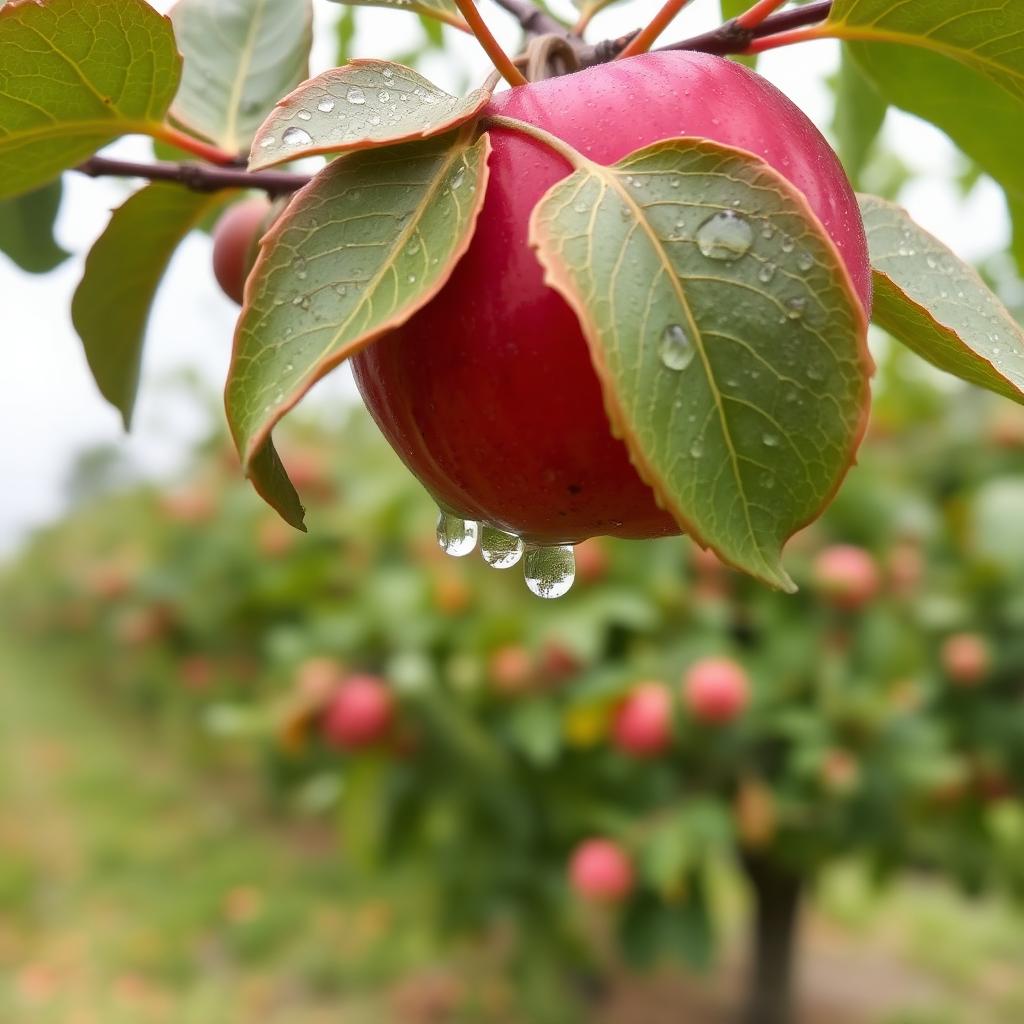
Think beyond individual shots and consider how your photos work together to tell a larger story of your day at the orchard.
Creating a Visual Narrative
Start with wide shots establishing the scene, then move to medium shots showing people interacting with the environment. Follow with close-ups of details, expressions, and the apples themselves. Conclude with shots of the harvest, perhaps a full basket or someone enjoying a fresh apple. This progression creates a compelling visual journey.
Themes and Emotions
What feeling do you want to convey? Joy, nostalgia, the bounty of harvest, family connection? Keep this theme in mind as you shoot and select your photos. A strong theme unifies your collection and makes it more impactful.
By applying these photography tips, you're not just taking pictures; you're crafting timeless memories. The apple orchard offers an unparalleled backdrop for creativity, and with a little intentionality, your photos can truly capture its magic.
Frequently Asked Questions
When is the best time of day to take photos at an apple orchard?
The 'golden hour,' which is about an hour after sunrise and an hour before sunset, offers the most beautiful soft, warm light, perfect for flattering portraits and rich colors. Overcast days also provide excellent diffused light, reducing harsh shadows.
What camera settings are best for blurring the background in orchard photos?
To achieve a blurry background (bokeh), use a wide aperture (smaller f-number, e.g., f/1.8, f/2.8, or f/4) on your DSLR or mirrorless camera. If using a smartphone, activate 'Portrait Mode' or an equivalent setting, which simulates this effect.
How can I make my apple photos look more vibrant and appealing?
Ensure good lighting first, ideally soft and diffused. In post-processing, subtly adjust contrast, highlights, shadows, and increase saturation or vibrance slightly. Avoid over-editing, as it can make colors look unnatural. Focusing on a clean, ripe apple also helps.
Should I pose people or take candid shots at the orchard?
A mix of both is ideal. While a few posed family shots are great for holiday cards, the most authentic and memorable photos often come from candid moments. Encourage interaction, let people pick apples naturally, and capture the genuine joy and activity as it unfolds.
What should I do if the orchard is very crowded?
Try to arrive early in the day, especially during the golden hour, to avoid peak crowds. Focus on tighter shots of apples, hands, or individual subjects to minimize background distractions. Utilize a shallow depth of field to blur out busy backgrounds, and consider unique angles like shooting from a low perspective to emphasize the trees rather than people.
Are there any specific safety tips for photography in an orchard?
Always be mindful of your surroundings. Watch for uneven ground, low branches, and other visitors. Be respectful of the orchard property and other pickers; don't block pathways or pick fruit solely for a prop if you're not going to consume it. Also, protect your equipment from dirt, dust, and any falling apples.
Tags
Explore more on Apple Picking Finder
Find orchards near you →
See the closest U-Pick apple farms with hours, pricing, and directions.
Apple varieties guide →
50+ varieties with taste notes, ripening windows, and best uses.
Ripening calendar →
When each variety is ready to pick, month by month, across the US.
Apple recipes →
60+ tested recipes for pies, crisps, cider, butter, and more.
Keep reading
Apple Industry Shifts: Current Price Trends and Orchard Economics
Discover how shifting weather patterns, rising production inputs, and evolving consumer habits are shaping apple prices and your next pick-your-own orchard visit.
Apple Prices and Harvest Trends: What Orchard Visitors Can Expect
Wondering why apple prices fluctuate at your favorite pick-your-own orchard? We break down national harvest economics, input costs, and what consumers should expect this fall.
Apple Picking Tips for Families: Stress-Free Orchard Days
Plan the ultimate fall orchard outing with our comprehensive guide to apple picking with kids. Learn smart packing habits, harvesting tricks, and fun family field games.