Mini Caramel Apple Pops
Turn your U-Pick apples into a delightful treat with these Mini Caramel Apple Pops. They are perfect for little hands and a fun activity for the whole family. Enjoy the sweet and tart flavors of autumn on a stick.

Instructions
- 1
Wash and thoroughly dry the apples. It's important they are very dry for the caramel to stick well.
- 2
Cut each apple into 4-6 wedges, removing the core. You want pieces that are easy to handle and about 1 to 1.5 inches thick.
- 3
Insert a wooden craft stick firmly into the bottom of each apple wedge. Place the prepared apple wedges on a parchment-lined baking sheet.
- 4
In a microwave-safe bowl, combine the unwrapped caramel candies and milk. Microwave on high for 30-second intervals, stirring after each, until the caramel is smooth and melted.
- 5
Dip each apple pop into the melted caramel, turning to coat completely. Allow excess caramel to drip off before placing it back on the parchment-lined baking sheet.
- 6
If desired, immediately roll the caramel-coated apple pops in your chosen toppings. Work quickly before the caramel sets.
- 7
Refrigerate for at least 15-20 minutes, or until the caramel is firm. Serve chilled and enjoy your festive treats!
Baker's tips
For best results, use firm, crisp apples. If the caramel becomes too thick while dipping, microwave it for another 10-15 seconds to re-soften. You can also add a tiny bit more milk if needed.
Frequently asked questions
What are the best apples for Mini Caramel Apple Pops?+
For mini caramel apple pops, use a firm baking apple that holds its shape once cooked, Honeycrisp, Braeburn, Granny Smith, Jonagold, or a mix of two varieties gives the best flavor balance between sweet and tart.
Can I make Mini Caramel Apple Pops ahead of time?+
Yes. Most baked apple desserts keep well for 2 days at room temperature covered loosely, or up to 5 days refrigerated. Reheat in a 325°F oven for 10 minutes to restore the crisp texture.
Can I freeze Mini Caramel Apple Pops?+
Most apple bakes freeze well for up to 3 months. Cool completely, wrap tightly in foil and freezer-safe bags, and thaw overnight in the refrigerator before reheating.
Do I need to peel the apples?+
Peeling gives a smoother texture and is traditional for pies and butters. For rustic crisps, crumbles, and sauces the skin adds fiber, color, and flavor, leave it on if you prefer.
Where can I pick my own apples for this recipe?+
Fresh-picked apples make a real difference in baking. Use our directory to find a U-Pick orchard near you and check our ripening calendar to see which varieties are ready this week.
Explore next
Find U-Pick apples near you →
Fresh-picked apples make baking better. See orchards close to home.
Best baking apple varieties →
Compare Honeycrisp, Braeburn, Granny Smith, and more.
When apples are ready to pick →
Month-by-month ripening across every US region.
More apple recipes →
Browse pies, crisps, cider, butter, breads, and more.
More apple recipes

Fresh Pressed Apple Juice
Experience the pure, crisp taste of autumn with homemade fresh pressed apple juice. Using apples you picked yourself makes this drink even more special. It's a delightful and refreshing way to enjoy the season's bounty.
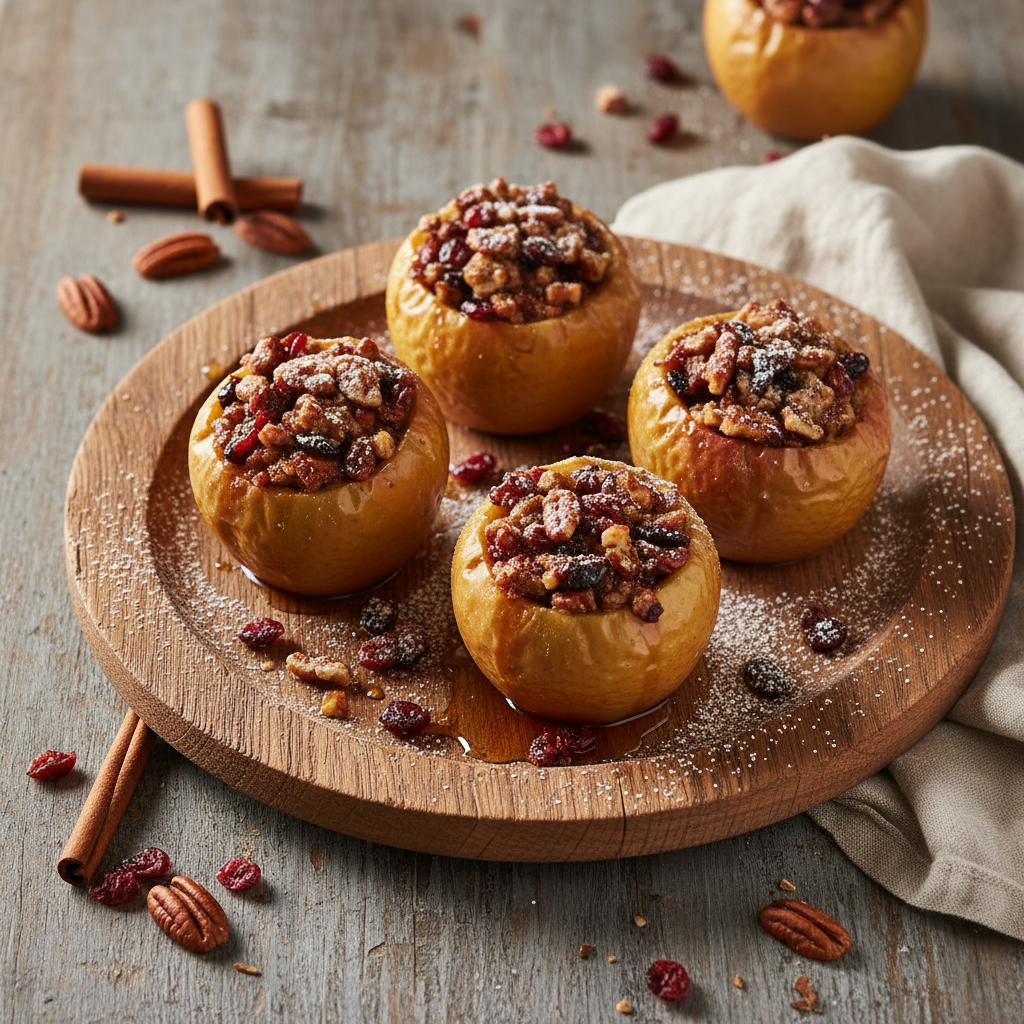
Baked Apples Stuffed with Pecans and Cranberries
This baked apple recipe is a perfect way to enjoy the crisp, sweet apples you just picked from the orchard. Filled with crunchy pecans and tart cranberries, these warm, spiced apples are a delightful treat. It's an easy dessert that truly highlights the fresh flavor of U-Pick apples.
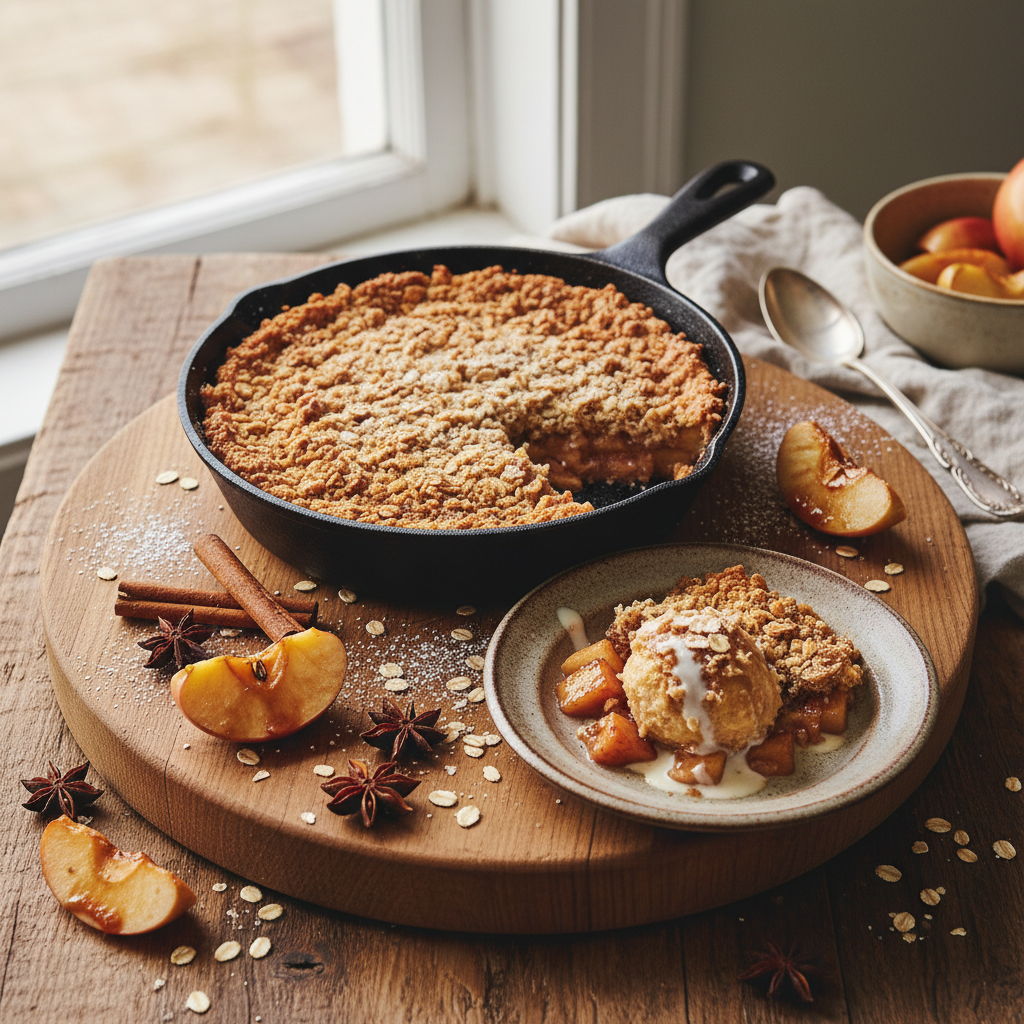
Cinnamon Apple Crisp with Oat Crumble
This classic apple crisp is the perfect way to showcase juicy, fresh-picked apples. With a warm cinnamon apple filling and a buttery oat crumble topping, it's a comforting dessert for any occasion. It's easy to make and always a crowd-pleaser.